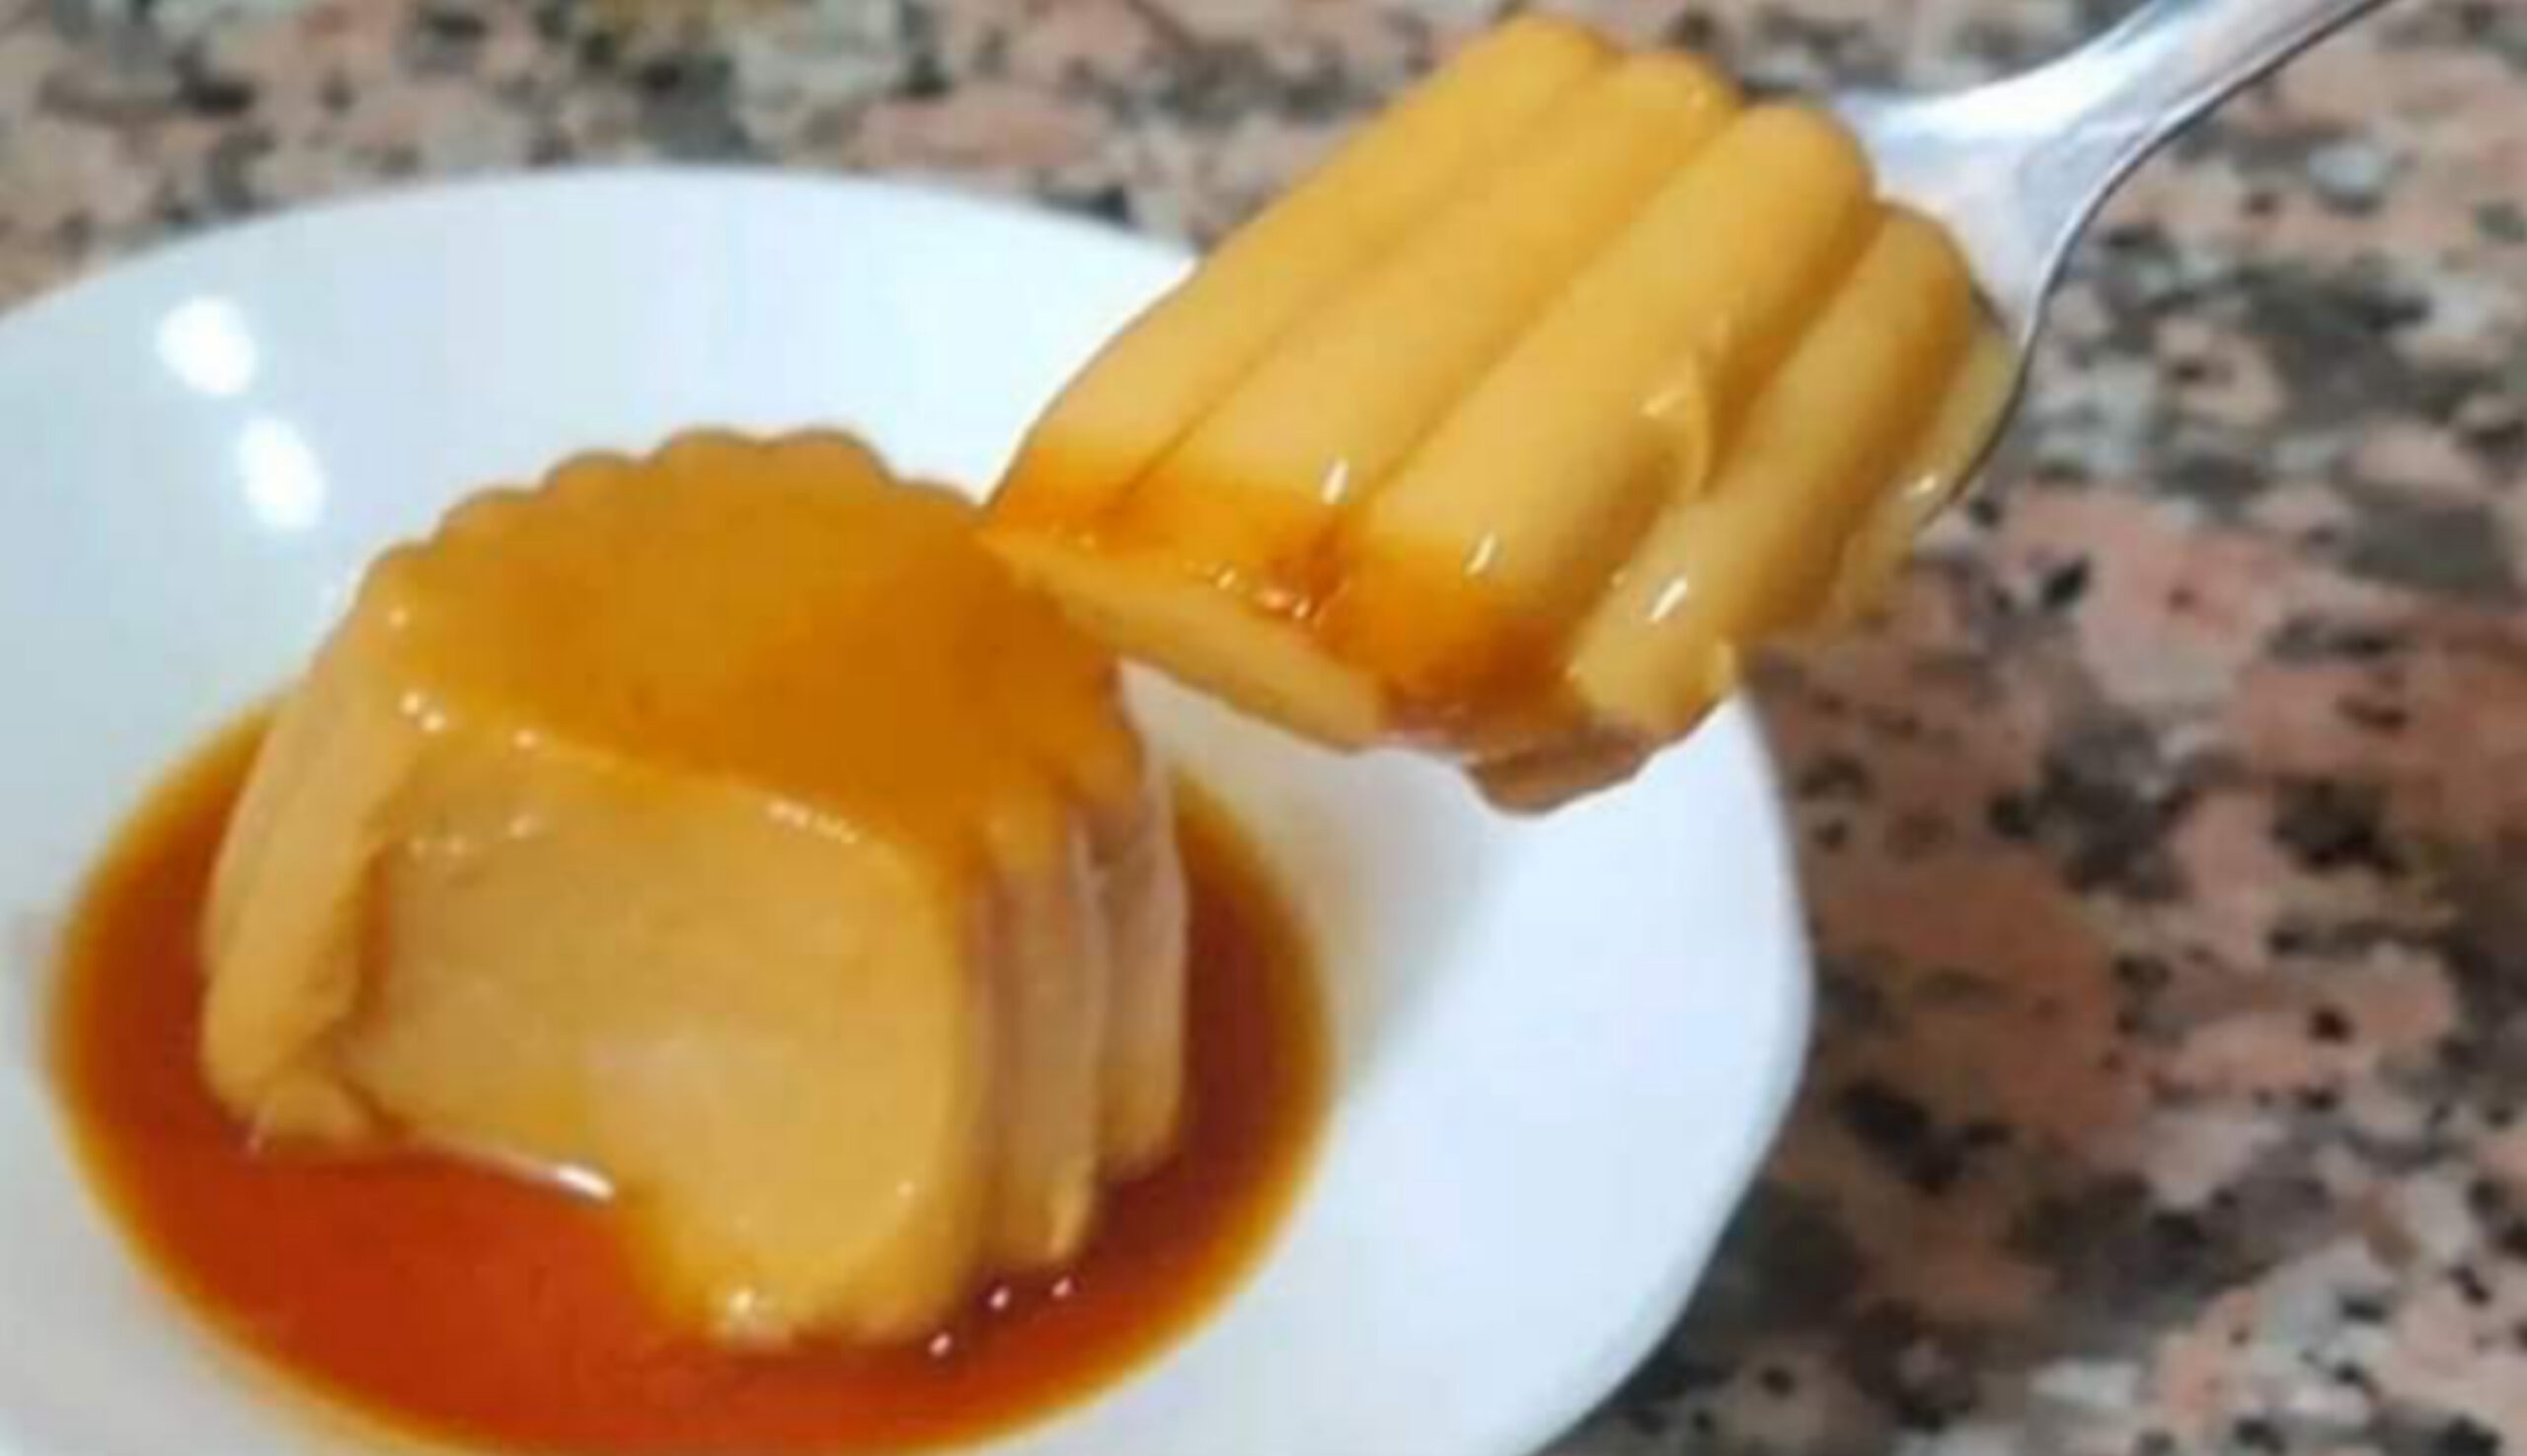
HOMEMADE VANILLA FLAN

Ingredients:
For the flan
250ml milk
sugar 50 gr
Eggs 2 units
Vanilla essence or vanilla sugar
for the caramel
sugar 50 gr
Water
Preparation:
1. We start by tempering the milk and pouring it into a bowl. Add the sugar and mix until dissolved. Add the eggs and the essence or vanilla sugar. Mix until you get a homogeneous mixture.
2. It’s time to make the caramel. To do this, we add the 50 gr. of sugar in a saucepan and add three tablespoons of water. Put on the heat and stir from time to time. When the mixture acquires a golden color, we pour the caramel into the flan mold.
3. Pour the flan mixture into the mold and place everything in an express pot with a little water. Cover the flanera with a plate and put the lid on the pot. We light the fire. When the pot indicators have risen, lower the heat and leave it for three minutes. After this, we remove from the heat and open the pot when possible.
4. When you can open the pot, we take out the flan and let it cool in the air. When it has cooled down a bit, cover it with aluminum foil and put it in the fridge for at least 5 hours.
5. After that time, we take the flan out of the fridge, unmold… and
Notes:

Here are some additional notes to keep in mind when making homemade vanilla flan:
1. Caramelizing the sugar: To make the caramel sauce for the flan, melt granulated sugar in a saucepan over medium heat. Stir constantly until the sugar melts and turns into a golden-brown syrup. Be careful not to let it burn, as it can happen quickly. Once caramelized, immediately pour the sauce into the ramekins or baking dish, swirling it around to coat the bottom evenly.
2. Resting time for the caramel: After pouring the caramel sauce into the ramekins or baking dish, allow it to cool and harden before adding the custard mixture. This will prevent the custard from mixing with the caramel and help create distinct layers.
3. Egg and milk mixture: To prepare the custard mixture, whisk together eggs, milk, sugar, and vanilla extract or vanilla bean seeds until well combined. Be sure to avoid overmixing, as it can introduce excess air into the mixture, which may result in a spongy texture in the flan.
4. Ramekin size and quantity: The size and number of ramekins you use will affect the baking time. Larger ramekins may require slightly more baking time, while smaller ones will need less. Adjust the baking time accordingly and keep an eye on the flan as it bakes.
5. Cooling and refrigeration: Once the flan is baked, remove it from the water bath and let it cool at room temperature. Then, transfer it to the refrigerator to chill. Cover the flan with plastic wrap or foil to prevent it from absorbing any odors from the fridge.
6. Serving and garnishing: When ready to serve, you can enjoy the vanilla flan as is or add some garnishes for extra flair. Popular garnishes include a sprinkle of cinnamon, a dollop of whipped cream, or a few fresh berries. Get creative and customize it to your liking.
Remember, making flan requires patience and attention to detail. It may take a few attempts to achieve the perfect texture and flavor. Don’t be discouraged if it doesn’t turn out perfectly the first time. Enjoy the process and savor the delicious homemade dessert!